


Step by Step - Installing SQL Server 2019
Installing and hardening SQL Server 2019. Step by step installation.

Creating Virtual Server

Log in to vSphere in order to create the virtual server for SQL Server 2019.

After the succesful log in, select the Datacenter to be used and right click on it. Select "New Virtual Machine" from the drop-down menu to create the server.

After the selection the pop-up screen will come up in order to identify the details for the virtual machine. Choose the best option that suits for you. For example if you already have a template SQL Server 2019 it is better to select "Deploy from Template".
This document has been prepared for users who dont have any VM in the enviroment and so "Create a new virtual machine" has been selected.

Step 2. Name the server and select the location for virtual machine. "SQLSRV2019"

Step 3. Select the destionation resource for the virtual machine. The windows will show multiple clusters and resource areas if you have.

Step 4. Select the storage for the configuration.

Step 5. Select the compability depending to your enviroment.

Step 6. Select guest OS. "Microsoft Windows Server 2016 or later" was selected for SQL Server 2019.

Step 7. Configuring the virtual machine hardware. CPU, Memory, Disk, Network custimization needs to be done in that step. To boot directly from ISO file select "New CD/DVD Drive" connected. Requirements should be defined carefully before creating the virtual machine.
| Component | Requirement |
|---|---|
| Hard Disk | SQL Server requires a minimum of 6 GB of available hard-disk space. Disk space requirements will vary with the SQL Server components you install. For more information, see Hard Disk Space Requirements later in this article. For information on supported storage types for data files, see Storage Types for Data Files. |
| Monitor | SQL Server requires Super-VGA (800x600) or higher resolution monitor. |
| Internet | Internet functionality requires Internet access (fees may apply). |
| Memory * | Minimum: Express Editions: 512 MB All other editions: 1 GB Recommended: Express Editions: 1 GB All other editions: At least 4 GB and should be increased as database size increases to ensure optimal performance. |
| Processor Speed | Minimum: x64 Processor: 1.4 GHz Recommended: 2.0 GHz or faster |
| Processor Type | x64 Processor: AMD Opteron, AMD Athlon 64, Intel Xeon with Intel EM64T support, Intel Pentium IV with EM64T support |

Step 8. Review all the configuration and click finish.

Power on the virtual machine after the process.
Server 2019 Installation
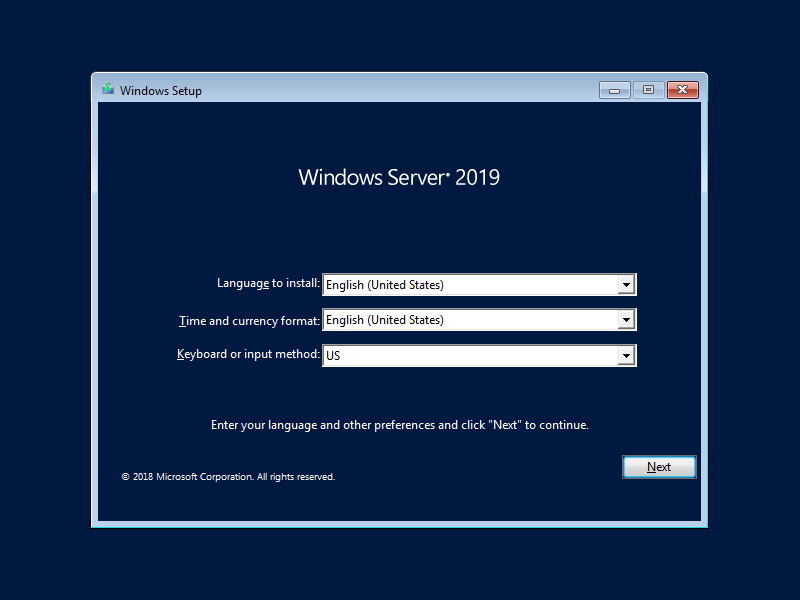
Step 1. Select language, time, currency and keyboard method for the Server 2019.

Step 2. Click "Install Now" to start the process.

Step 3. Select the operating system and click next.

Step 4. Review and accept the license terms and click next.

Step 5. Select the installation type for operating system. "Custom" was selected for this post.

Step 6. Review and select the disk spesification for your requirement. "New" option was selected for the post.

Step 7. Select and configure disk partitions and click next.

Step 8. Installing process will start with selected options.

Step 9. Server will reset itself automatically after the installation process.

Step 10. Create local administrator password and click finish.

Step 11. Log in to server with local administrator password.


Step 12. Click Ethernet0 to configure network settings from "Server Manager".

Step 13. Change name and add the server to domain if needed. You need to see the name and IP address in the "Server Manager" after restarting the server.

Installing SQL
Step 1. Download and mount SQL Server ISO file and run "Setup" as administrator.

Step 2. You may review and gain more information about SQL Server. Click "Installation" to continue.

Step 3. First option was selected for this installation.

Step 4. Fill the product key and click next.

Step 5. Review and accept license terms to continue.

Step 6. Select update policy for the server and click next.

Step 7. Select features and directories for SQL. "Database Engine Services" and default directories were selected.

Step 8. Fill "Instance ID" area click next.

Step 9. Specify service accounts for SQL and click next.

Step 10. Specify account for database engine and click next.

Step 11. Verify all the settings and click install.

Step 12. See the features and status after installation. Log files should be reviewed if any status is not completed succesfully.

Step 13. Click "Install SQL Server Management Tools" in order to install "Management Studio".

Step 14. Select the location and click install.

Step 15. Server needs to be restarted after the installation.

Step 16. Open Management Studio by writing "ssms" to start menu.

Step 17. Log in to database engine with priviliged account created earlier.

Step 18. A new user can be created by selecting "Security - Login" tab.

Step 19. Server roles needs to be selected after defining the username. "dbcreator", "public", "securityadmin" and sysadmin were selected for the new user. New user should be listed under logins tab after clicking OK.
Creating Database

Step 1. Right click to "Databases" and choose "New Database" from Object Explorer area. Database name and the owner of the database needs to be defined in this step.

Step 2. Review the options for new database. Simple Recovery mode was selected in order to avoid facing problems related with huge log files. But for the production enviroment "Full" or "Bulk" options should be selected.

Step 3. Importing sample data for new database.

Step 4. Import flat file.

Step 5. Select data location to import.

Step 6. Review data before importing.

Step 7. Modify coloumns as required.

Step 8. Review and finish the import process.

Step 9. Check the results and close the menu.
Hardening SQL Server

Step 1. Disable the -sa user account.


Step 2. TCP 1433 is the default port for SQL. But this port needs to be changed to secure the server.

Step 3. Create and configure password policy for SQL Server. Follow the path to change the password policy:
- Group Policy Management Editor - “Computer Configuration - Policies - Windows Settings - Security Settings” - Account Policies.


Step 4. Disable "xpcmdshell" in order to block sending commands.

Step 5. Right Click to “Security – Logins – Audits” in order to create audit policy.

Step 6. Enable audit policy after creation.

Step 7. Disable all unnecessary ports including NETBIOS and SMB.

Step 8. Scan the databases for vulnerabilities by using SQL Vulnerability Assesment.

Step 9. Check, review and update hardening configurations according to resaults of vulnerability scan.
What's Your Reaction?