


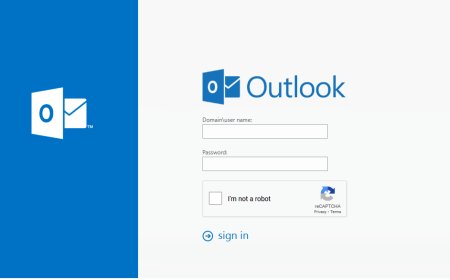


Step by Step - Guide to Integrating Google reCAPTCHA with Exchange Server
Protecting your Exchange Server from malicious activities is paramount. This post provides a comprehensive guide on bolstering your server's defenses by incorporating Google reCAPTCHA, a widely trusted and effective tool for thwarting automated bots and ensuring secure communication. From understanding the importance of reCAPTCHA to the step-by-step implementation process, you will gain valuable insights into fortifying your Exchange Server against unauthorized access and potential threats. Follow along to enhance your server's security posture and safeguard sensitive information with this practical guide to integrating Google reCAPTCHA.

Google reCAPTCHA is a great and widely adopted security measure designed to protect online platforms from automated bots, spam, and other malicious activities. Google reCAPTCHA uses advanced risk analysis algorithms and sophisticated challenges to distinguish between human users and automated scripts. One of its primary components involves presenting users with visual or interactive puzzles that are easy for humans to solve but challenging for bots. This not only adds an additional layer of security to online services but also contributes to the improvement of digitized data, as users unknowingly assist in the training of machine learning models that power reCAPTCHA's capabilities.
The importance of integrating reCAPTCHA into systems, such as Exchange Servers, lies in the critical need to defend against automated attacks that could compromise sensitive information. Bots continuously evolve in sophistication, and without adequate protection, they can exploit vulnerabilities, compromise user accounts, and flood communication channels with spam. By implementing reCAPTCHA, you can significantly reduce the risk of unauthorized access, secure user authentication processes, and enhance the overall integrity of your system. This proactive approach not only safeguards against potential breaches but also ensures a smoother and more reliable user experience by minimizing the impact of automated threats.
Step 0 - Signing Up for Google reCAPTCHA:
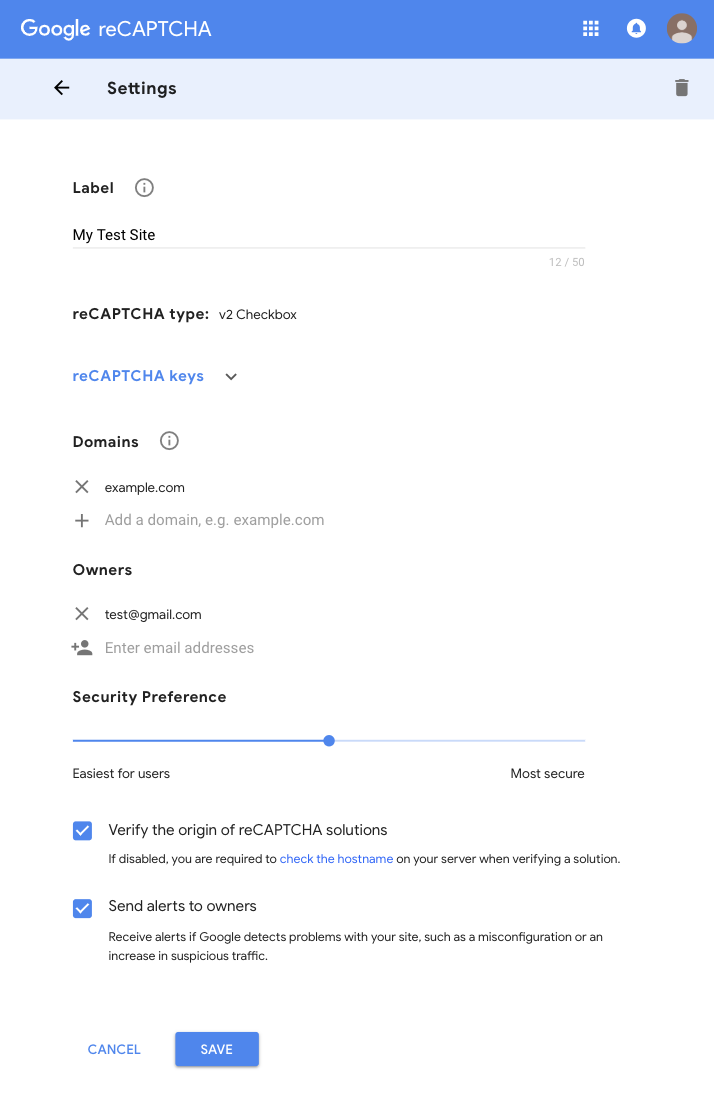
Visit this link in order to add your domain and get the SITE and SECRET KEYS for your domain. Follow the registration process and put the required information to form. After completing the form note down the keys to be used in exchange server.
Step 1 - Updating Exchange Server Login Configuration - Creating recaptcha.aspx:
Open the following directory in exchange server and create an recaptcha.aspx file in that folder:
C:\Program Files\Microsoft\Exchange Server\V15\FrontEnd\HttpProxy\owa\auth
Edit recaptcha.aspx file with notepad and add the following text.

<% @ Page AspCompat=True Language = “VB” %> <% Dim strPrivateKey As String = “YOUR_SECRET_KEY_GOES_HERE” Dim strResponse = Request(“response”) Dim objWinHTTP As Object objWinHTTP = Server.CreateObject(“WinHTTP.WinHTTPRequest.5.1”) objWinHTTP.Open(“POST”, “https://www.google.com/recaptcha/api/siteverify”, False) objWinHTTP.SetRequestHeader(“Content-type”, “application/x-www-form-urlencoded”) Dim strData As String = “secret=” & strPrivateKey & “&response=” & strResponse objWinHTTP.Send(strData) Dim strResponseText = objWinHTTP.ResponseText Response.Write(strResponseText) %>
Step 2 - Updating Exchange Server Login Configuration - Updating Current Logon File:
Create a copy of the current logon.aspx and name it as logon.v0.aspx This file is also in the same directory C:\Program Files\Microsoft\Exchange Server\V15\FrontEnd\HttpProxy\owa\auth
Open logon.aspx with notepad and find
What's Your Reaction?